Creating a product video can be a game-changer for your business. A well-shot video showcases your product in the best light, helping potential customers understand its features and benefits. Here’s a step-by-step guide on how to shoot a product video for beginners.
Plan Your Video
Define Your Purpose
Before you start shooting, it’s essential to know why you’re making the video. Is it to explain how your product works? Or to highlight its unique features? Having a clear purpose will guide your entire process.
Create a Script
Write down what you want to say in the video. A script helps keep your video focused and ensures you cover all necessary points. Include key details about the product, its benefits, and any special features.
Gather Your Equipment
Camera
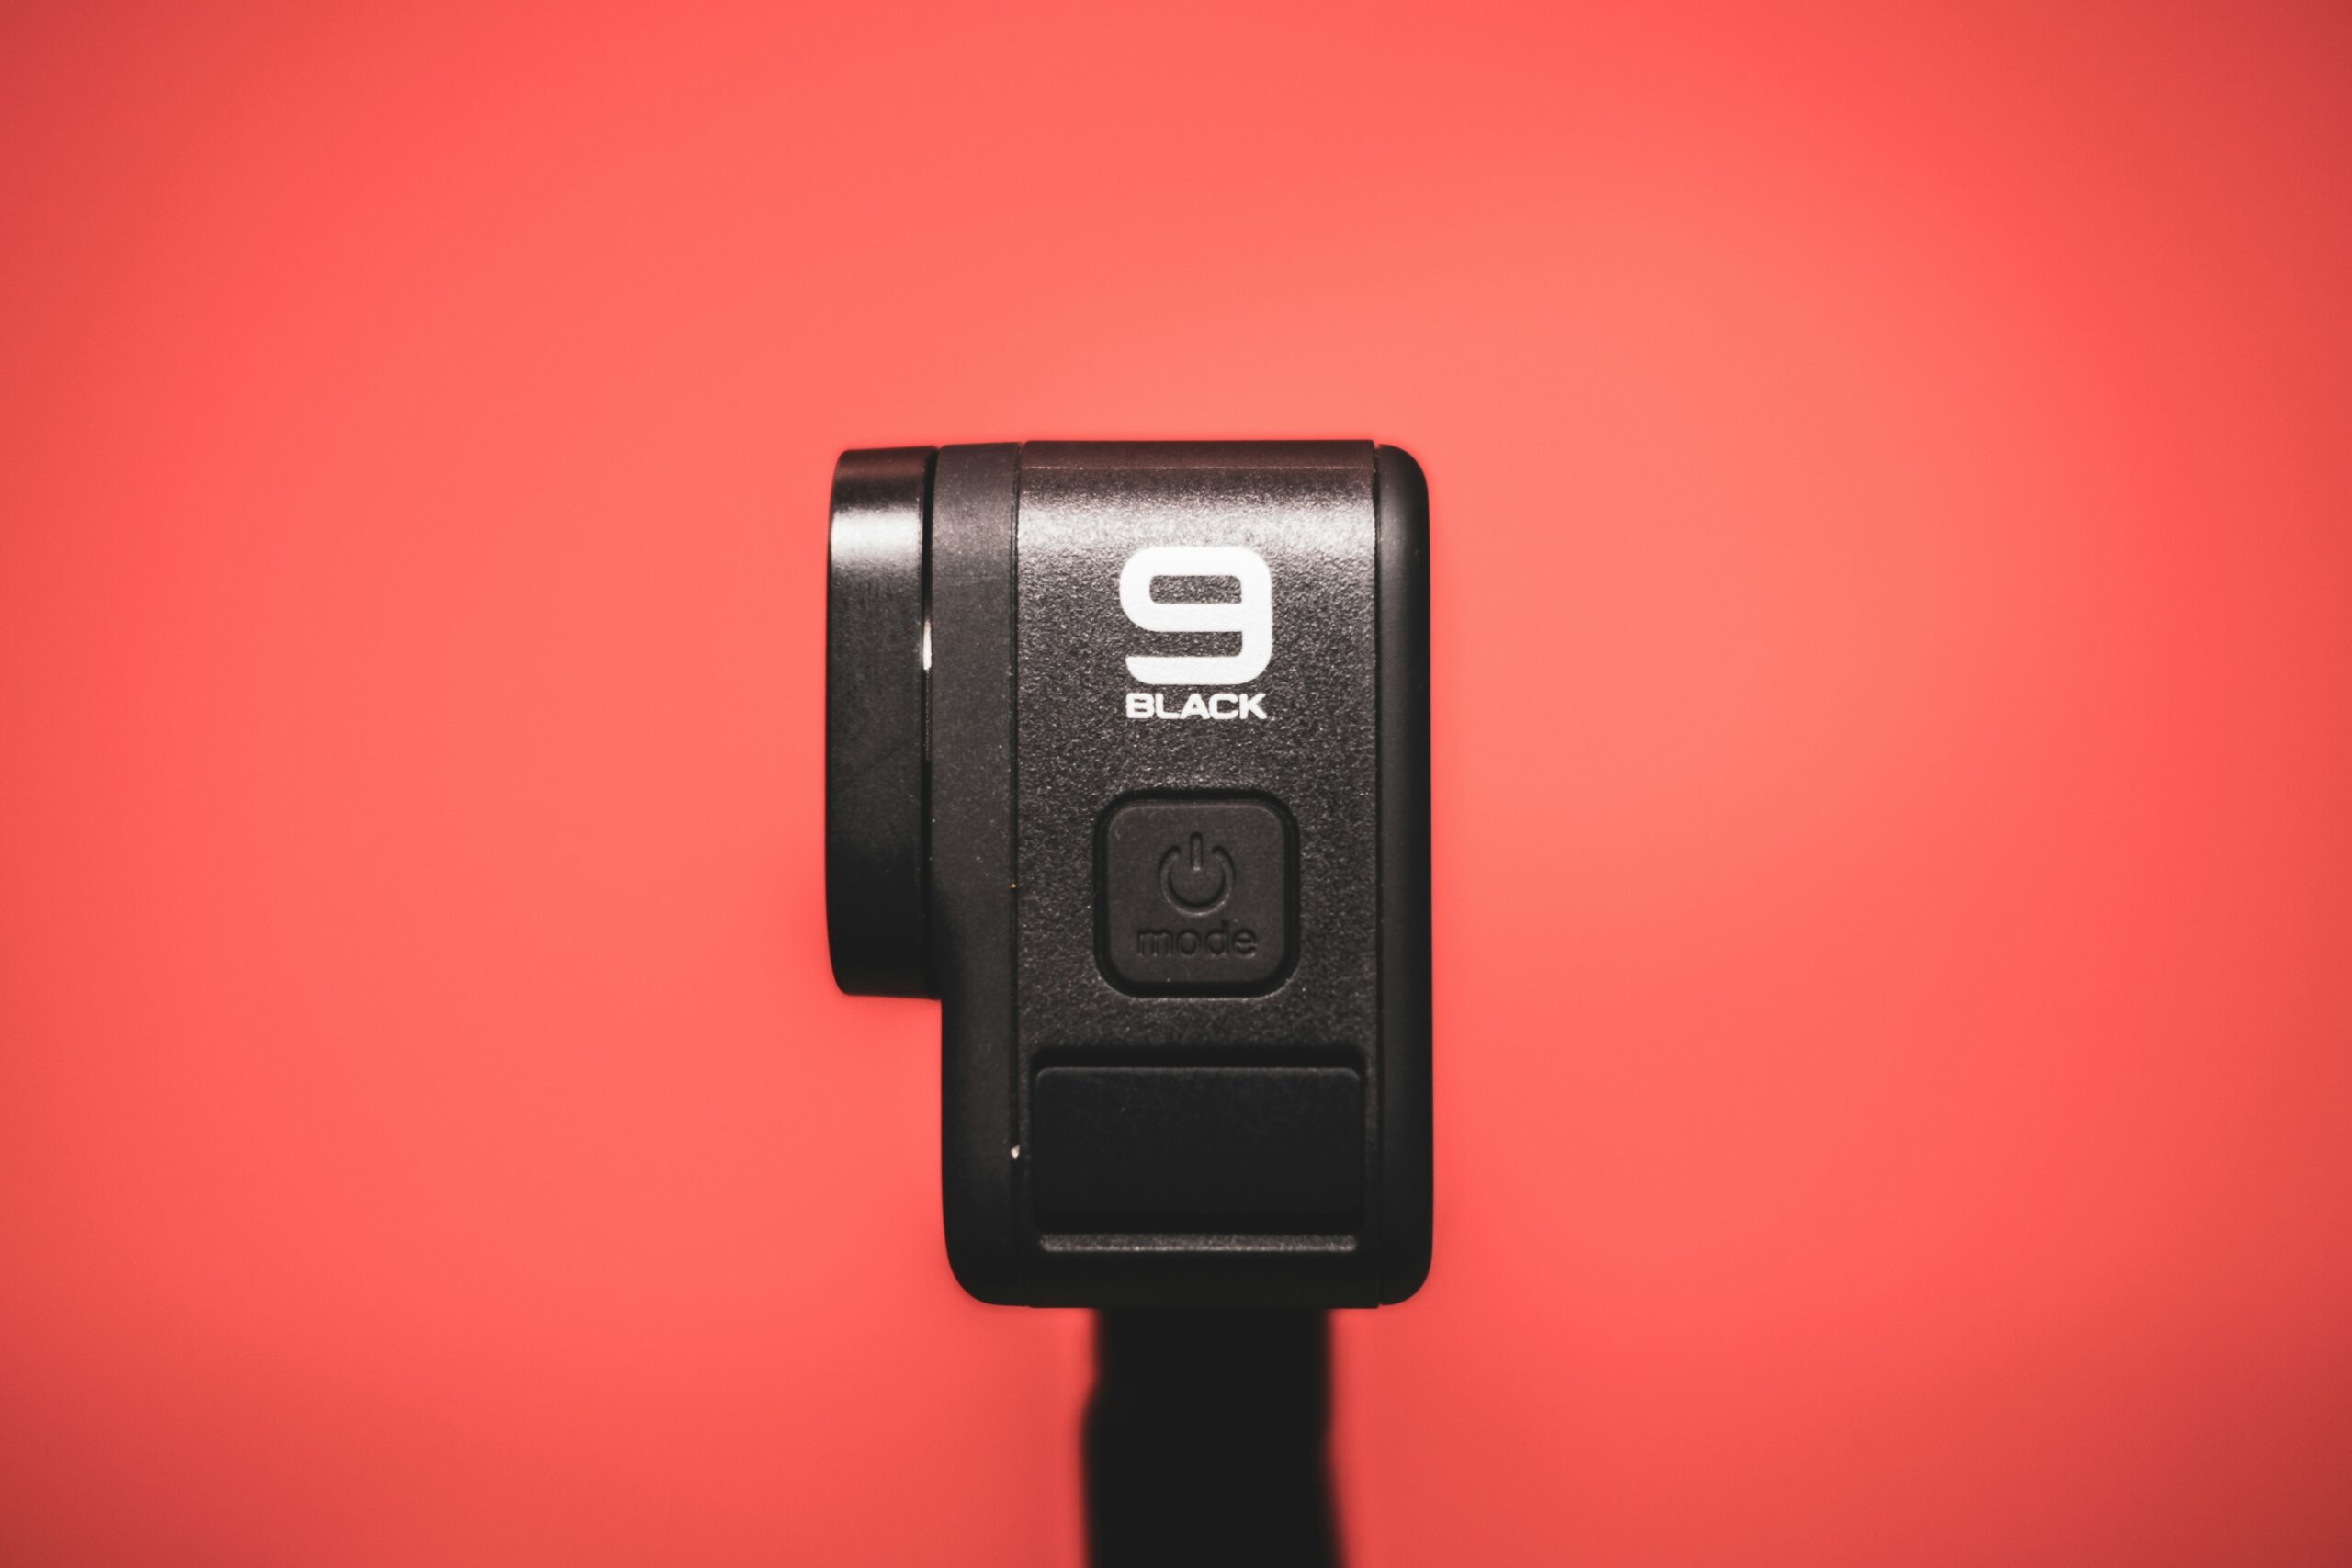
A good quality camera is crucial. You don’t need to buy an expensive one; even a smartphone with a good camera can work. Make sure the camera can shoot in high definition (HD).
Tripod
A tripod keeps your camera steady, preventing shaky footage. This is especially important for close-up shots of your product.
Lighting
Proper lighting makes your product look attractive. Use natural light if possible, or invest in some affordable studio lights. Soft, diffused light works best for product videos.
Microphone
Good audio quality is as important as good video quality. Use an external microphone for clear sound.
Set Up Your Shooting Space
Choose a Clean Background
A clean, uncluttered background keeps the focus on your product. A plain white or solid-colored background works well.
Arrange Your Product
Place your product in the center of the frame. Make sure it’s clean and in perfect condition.
Set Up Your Lighting
Position your lights to eliminate shadows and highlight your product’s features. You can use a three-point lighting setup: one light in front of the product, one light to the side, and one light from above.
Shoot Your Video
Start with Wide Shots
Begin with wide shots that show the entire product. This gives viewers a good overview of what you’re showcasing.
Move to Close-Up Shots
Next, capture close-up shots of important details. Show the product from different angles to highlight its features.
Use Smooth Movements
Avoid jerky camera movements. If you need to move the camera, do it slowly and smoothly. Use a tripod or a stabilizer for this.
Edit Your Video
Import Your Footage
Transfer your video clips to a computer and use video editing software to arrange them. There are many free and paid options available, like Adobe Premiere Pro, Final Cut Pro, or even iMovie.
Trim Unnecessary Parts
Cut out any unnecessary parts to keep your video concise. Aim for a length of 1-2 minutes.
Add Text and Music
Add text overlays to highlight key points. Background music can make your video more engaging, but keep it subtle so it doesn’t distract from the product.
Review and Adjust
Watch your video several times to catch any mistakes. Make adjustments as needed until you’re happy with the final product.
Share Your Video
Upload to Your Website
Embed the video on your product page to give visitors a better understanding of your product.
Share on Social Media
Post your video on social media platforms like Facebook, Instagram, and YouTube to reach a wider audience.
Use in Email Marketing
Include the video in your email campaigns to engage your subscribers and drive traffic to your website.
Conclusion
Shooting a product video might seem challenging at first, but with the right planning and equipment, you can create a professional-looking video that showcases your product effectively. Follow these steps, and you’ll be well on your way to producing a video that can help attract and inform potential customers.


3 Responses
This isn’t just writing; it’s a beautiful exploration of thought, full of insights that feel like small revelations.
Happy to dive into discussions, share thoughts, and learn something new as I go.
I’m interested in understanding different opinions and sharing my input when it’s helpful. Always open to fresh thoughts and building connections.
Thankyou for sharing the information with us.